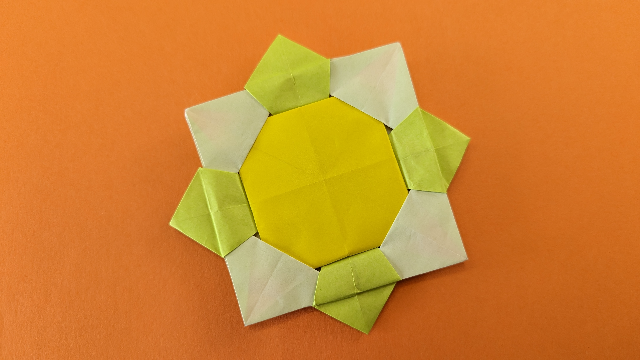
おりがみメダルの作り方です。
難易度は高いですが、その分喜びもおおきいですよ!
それでは張り切って作りましょう。
つくりかた
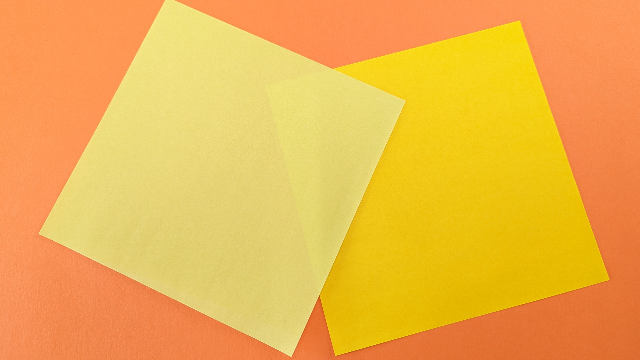
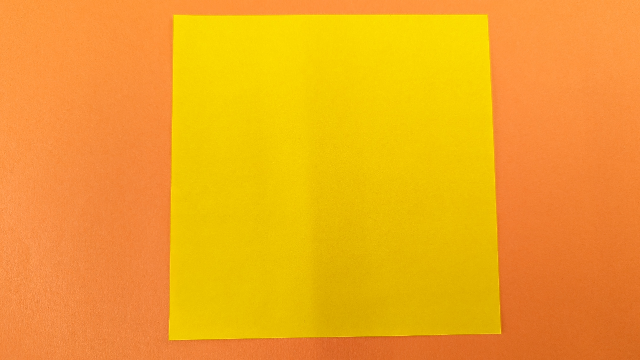
おりがみは2枚用意します。
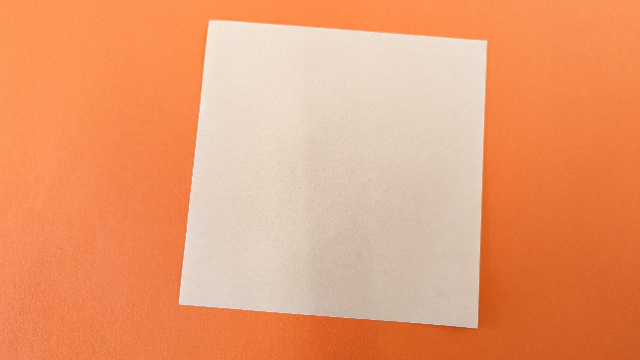
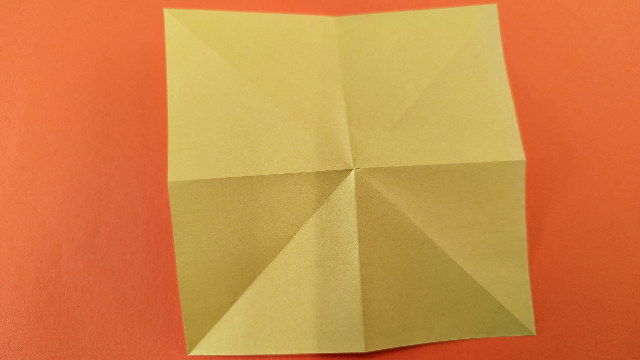
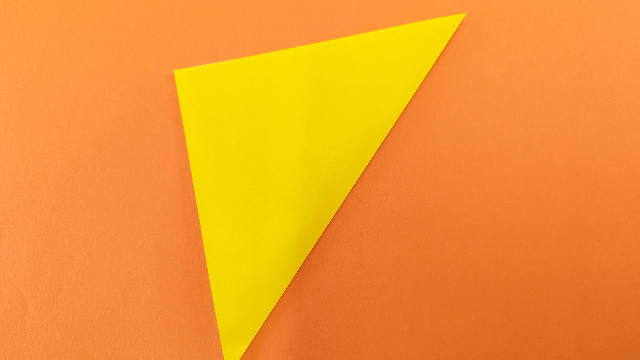
まずは1枚目。最初に折りすじをつけていきましょう。
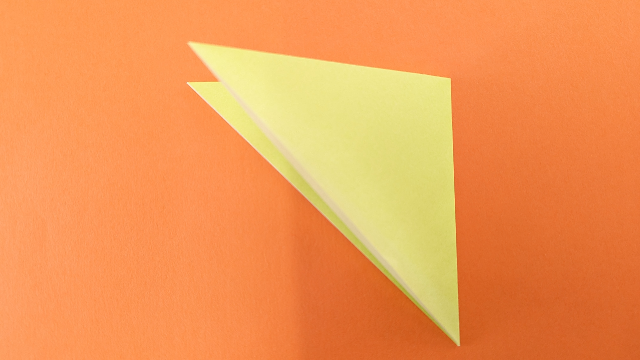
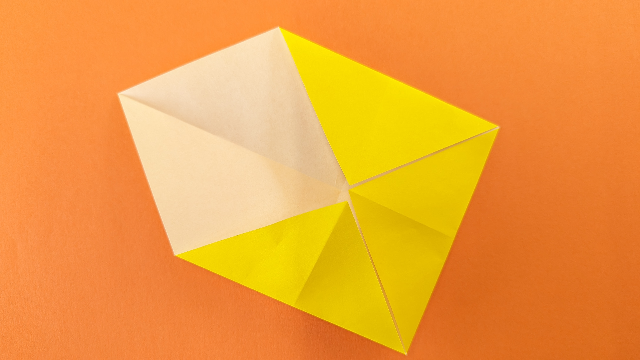
三角に折ってすじをつけていきます。
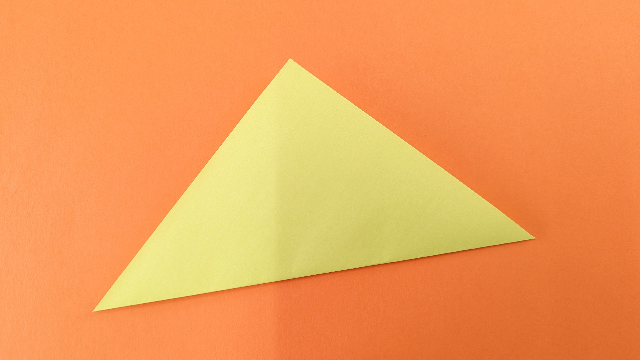
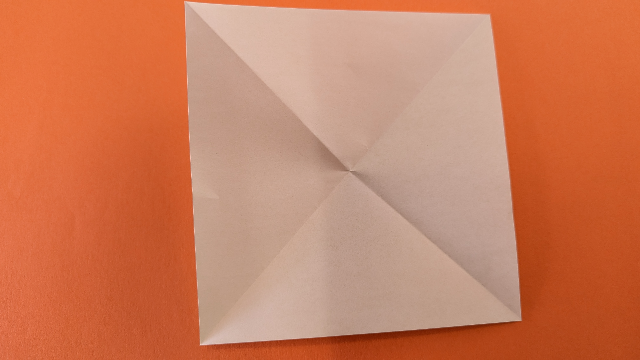
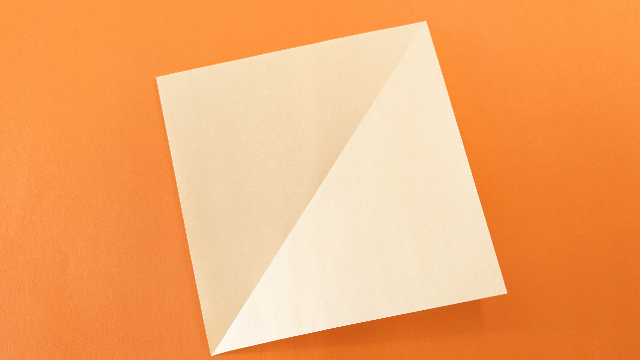
広げるとこんな感じです。
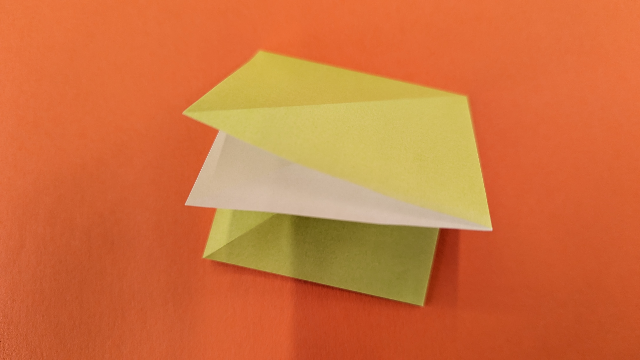
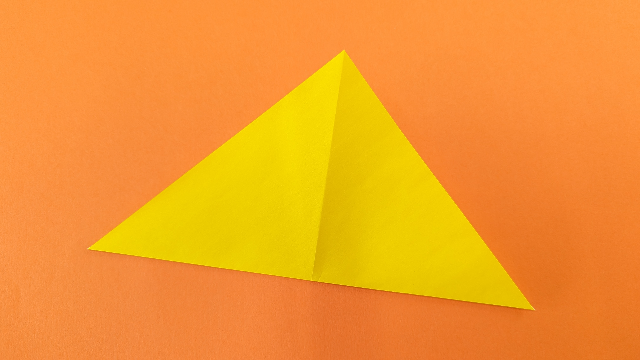
次は四角形に折っていきます。

半分に折ってさらにはんぶんこ。
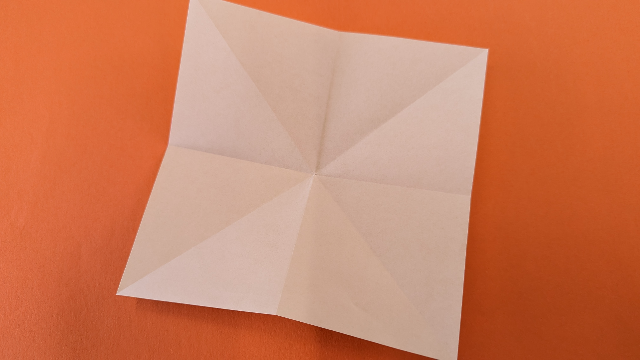
広げるとこんな感じ。
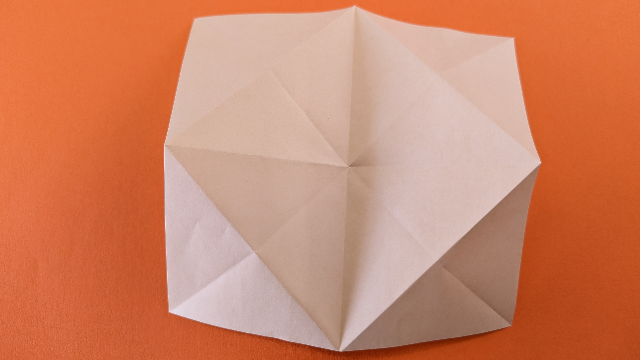
次は表にしておりすじをつけていきます。
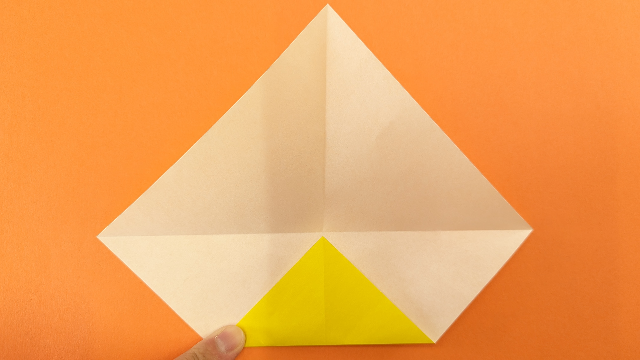
角を中央に向かって三角形に折っていきます。
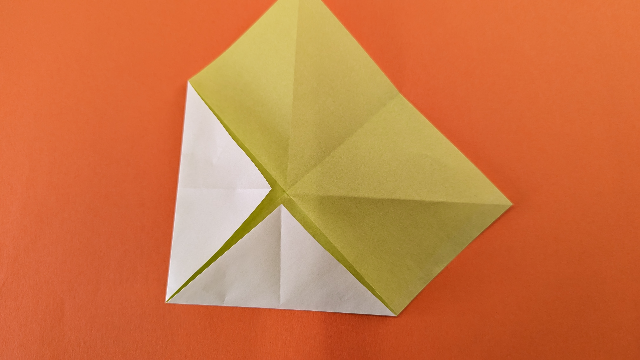
折ったらまた開きます。
さて、ここから裏返しにして折っていきます。
中央に向かって4分の1の幅を折っていきます。
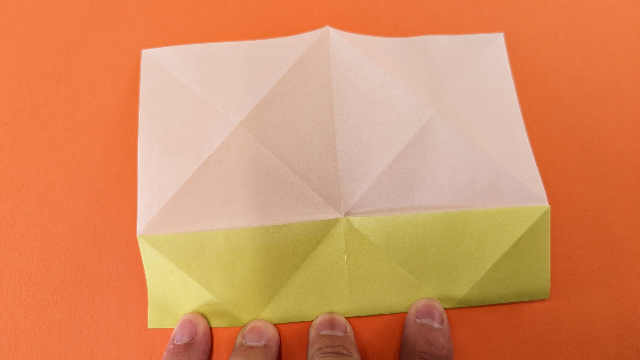
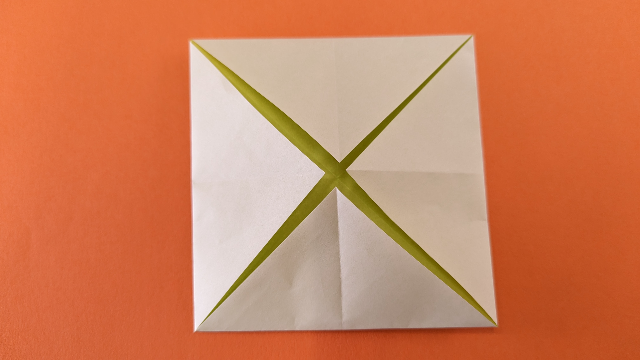
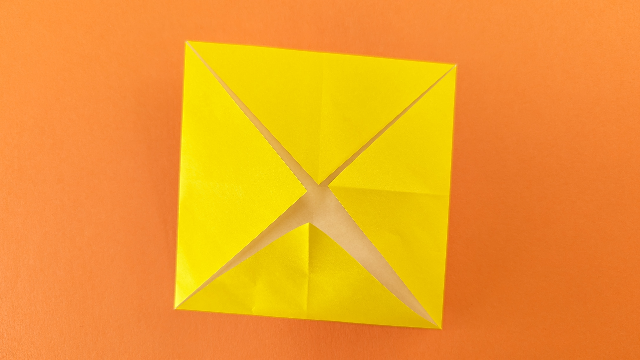
2か所同じように折れたら、次は正方形になるように折っていきます。

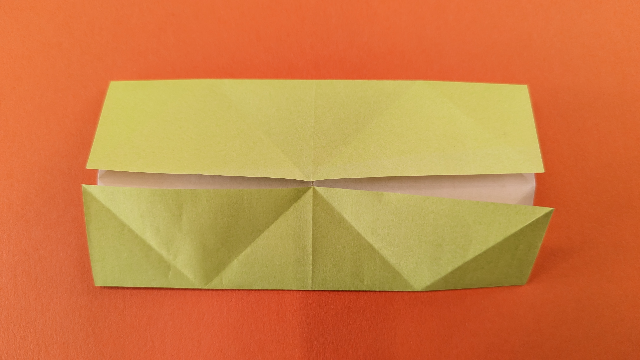
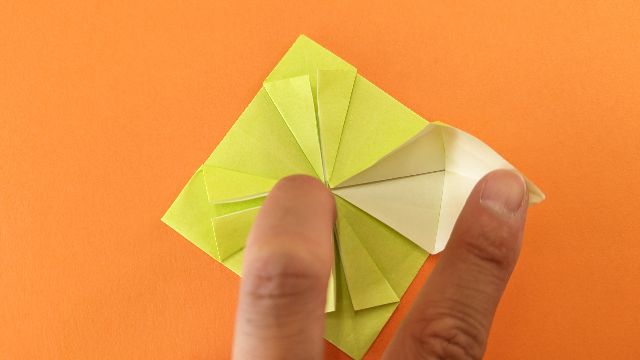
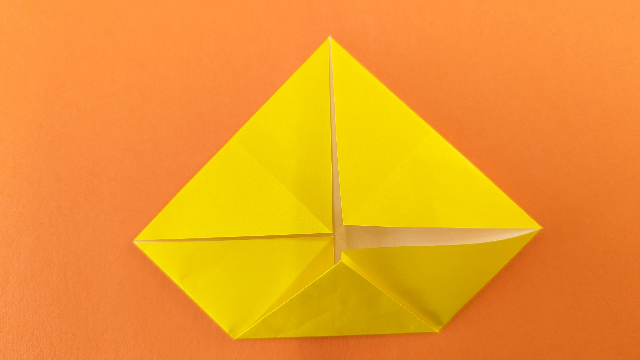
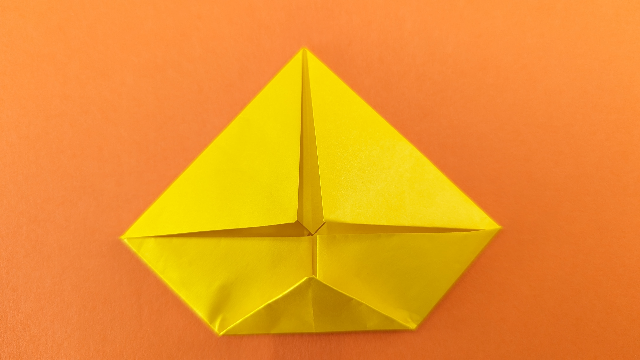
次は少しむずかしいですが、折ったところを船のような形になるように開いていきましょう。
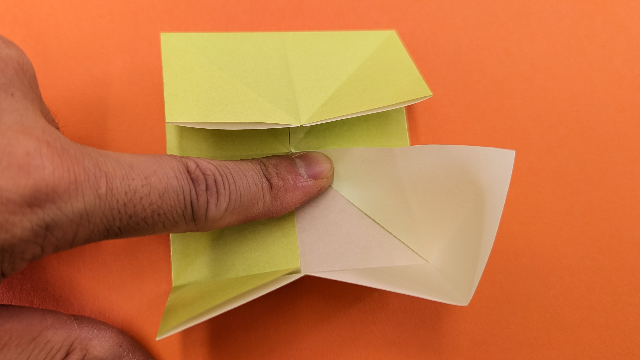
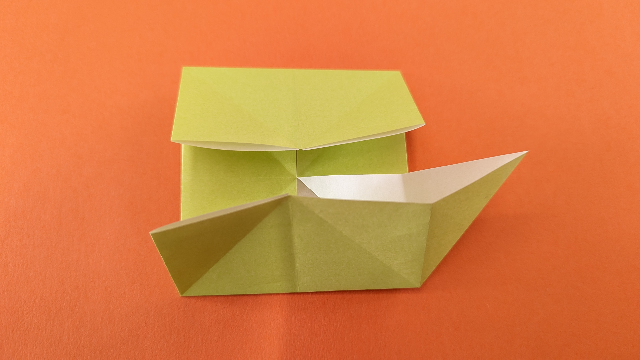
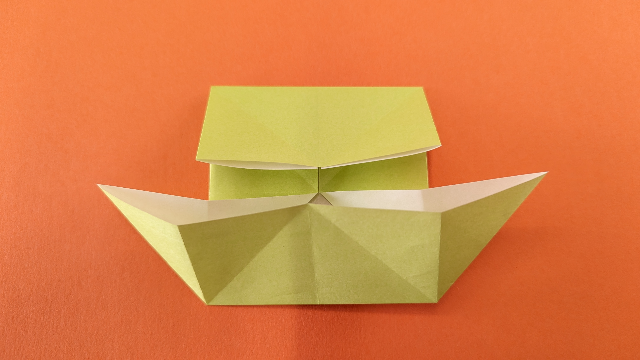
こんな感じです。更にもう片方も同じように開いていきましょう。
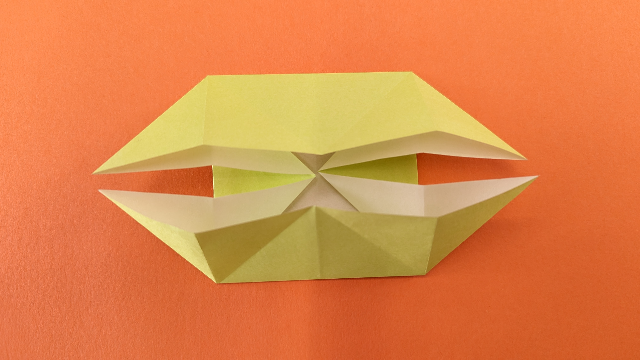
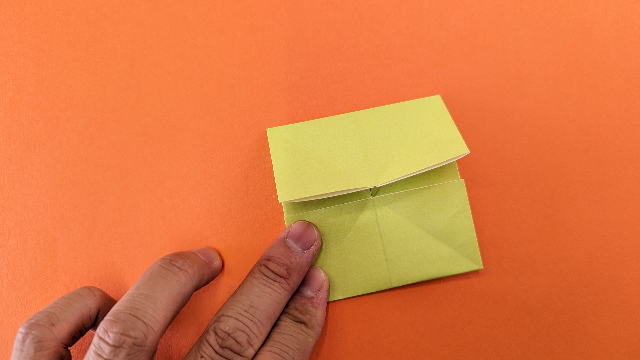
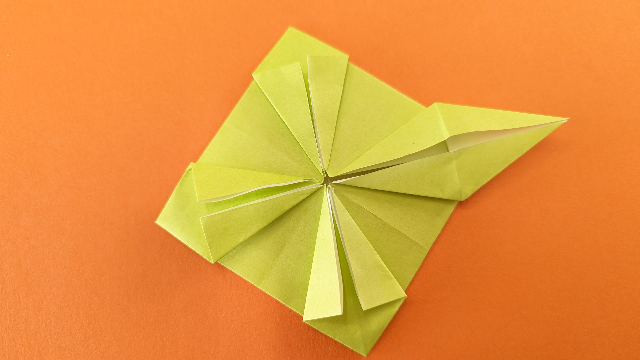
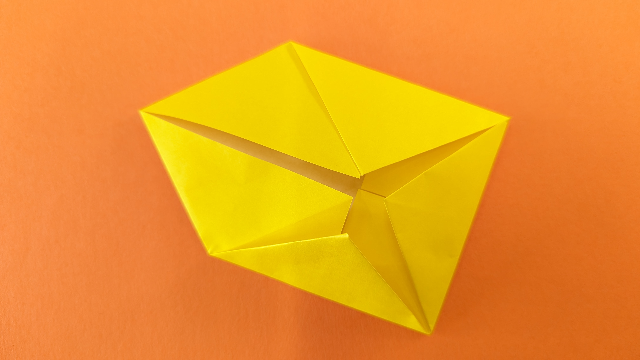
次は、今開いた部分の端を内側にたたんでいきましょう。
先ほど折った部分を立ててからたたんでいくようにするとやりやすいです。
4か所あるので全部同じように折っていきましょう。
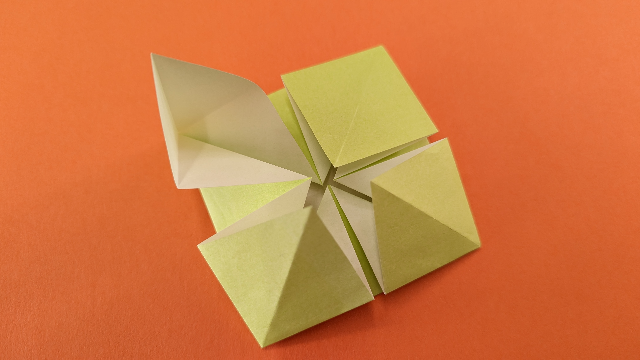
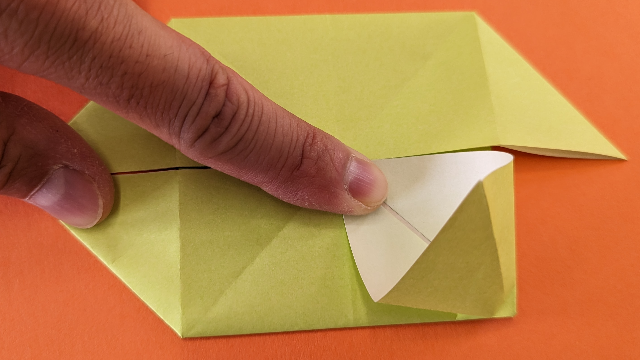
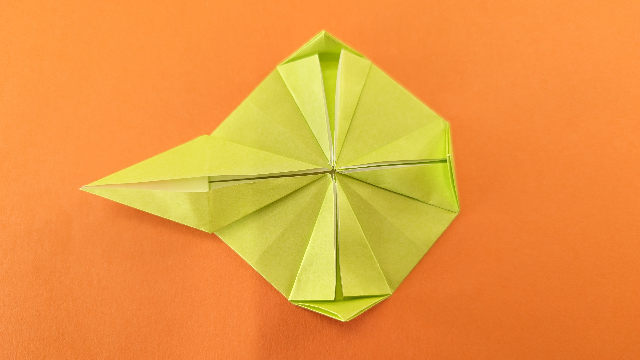
たたみ終わったら次は折ったところの端をちょいちょい折り目をつけて開いていきましょう。
細かい作業ですが、これをやればもう一息です。
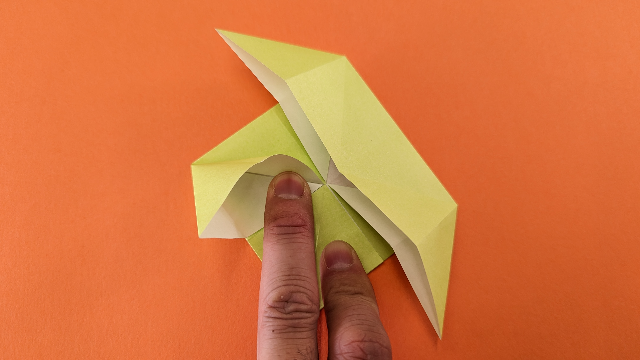
開き方が少し難しいですが、焦らずに進めればうまくできます。
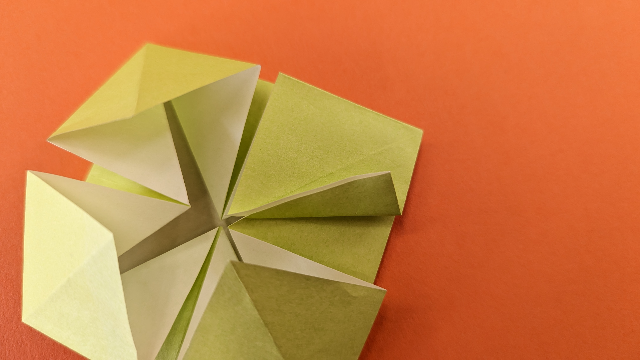
同じように残りの場所も開いていきましょう。
角の三角の場所を折ってから開くとやりやすいですよ。
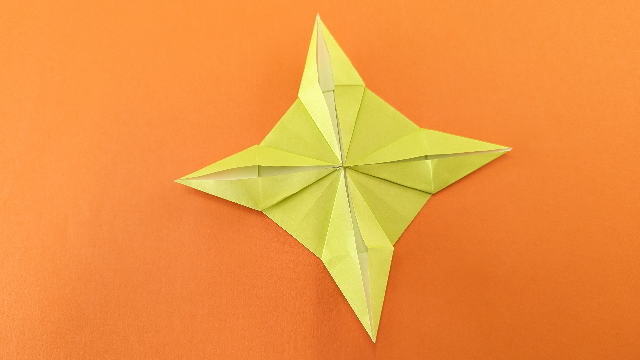
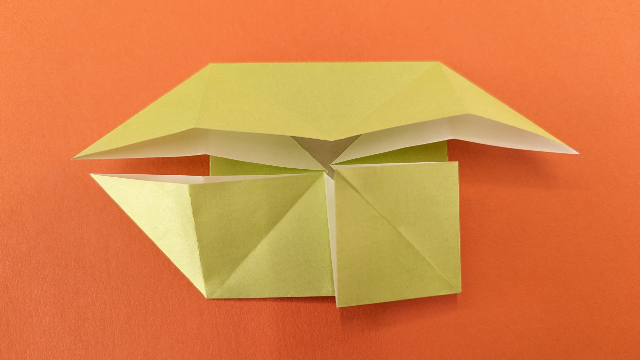
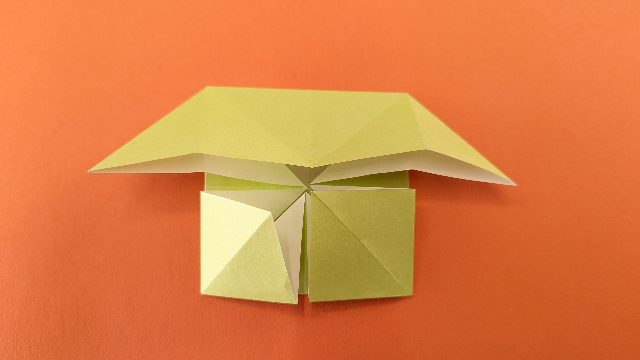
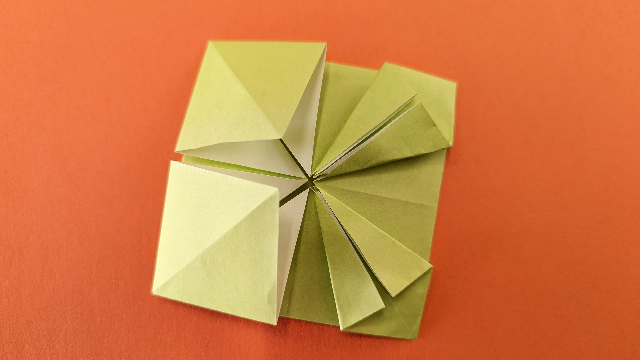
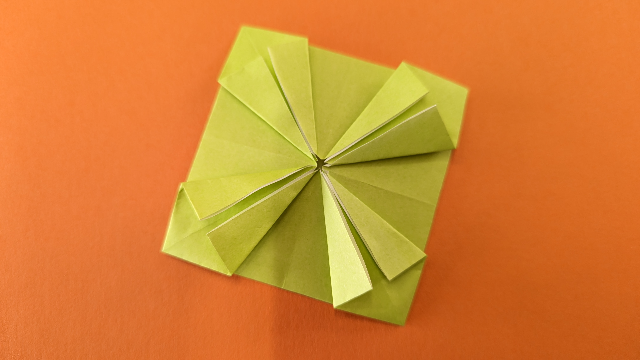
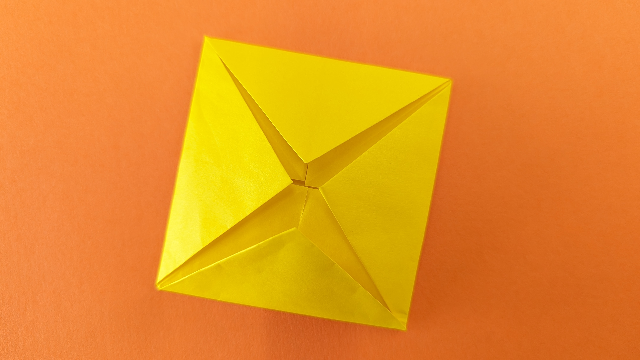
ここまでできたら、最後は真ん中から外側に向けて折り広げていきます。
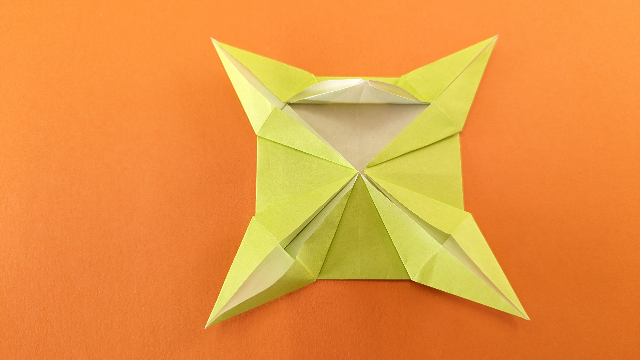
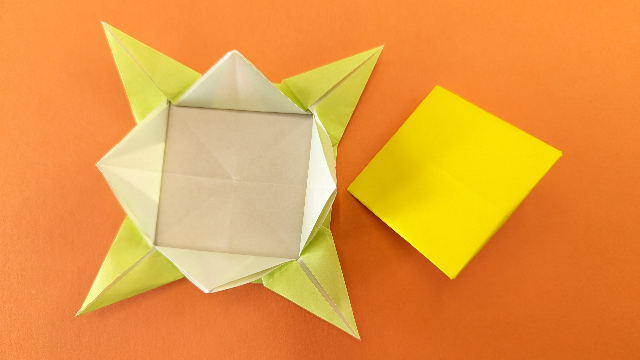
最終的にこのような形にしてひとつ目は完成です。
次に、内側に入れる部分を作っていきましょう。
色合いを考えておりがみを選んでくださいね。
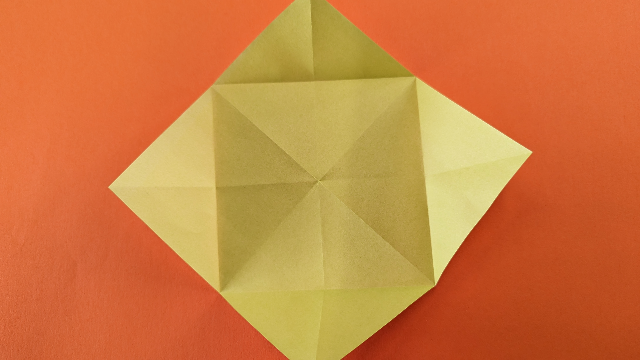
まずは先程と同様に三角に折って折り目をつけていきます。

折り目がついたら4つの角を真ん中に向かって折っていきます。
さらに同じように4つの角を折っていきましょう。
さらに同じように内側に折っていきます。
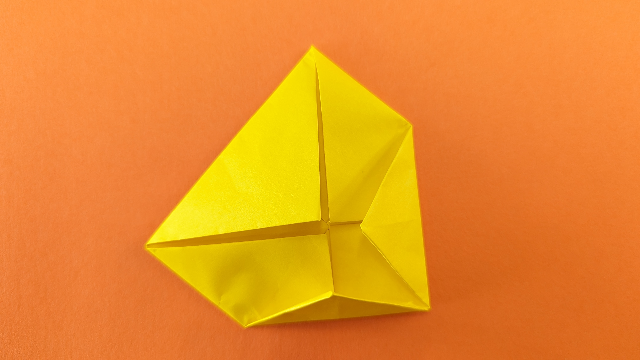
ここまでできたら2つ目は完成です。
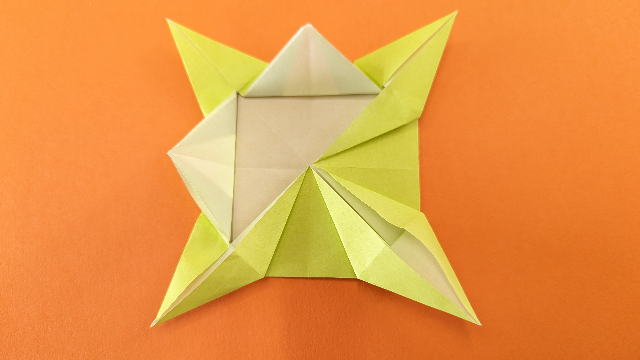
最後に2つのおりがみを合わせていきましょう。
正方形に折ったおりがみを真ん中に差し込んでいきます。
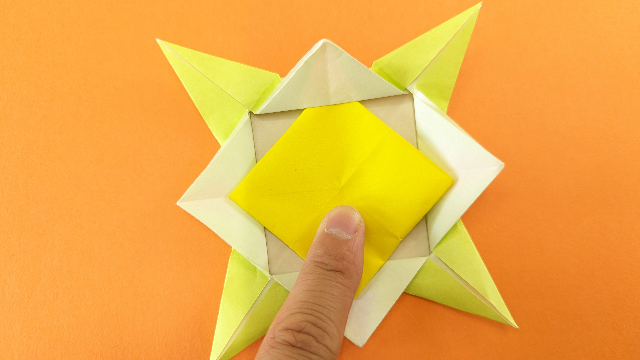

ずれてしまったら調整してくださいね。
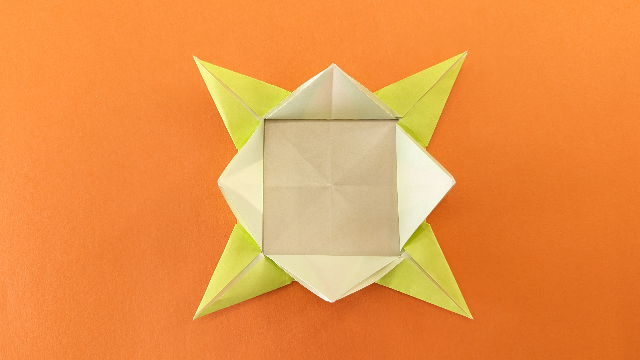
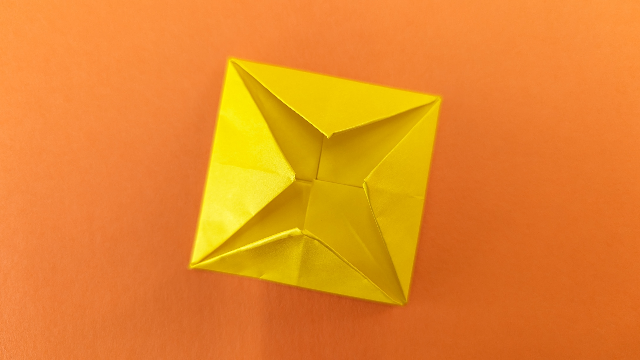
次に、とげとげの部分を折り込んでいきます。
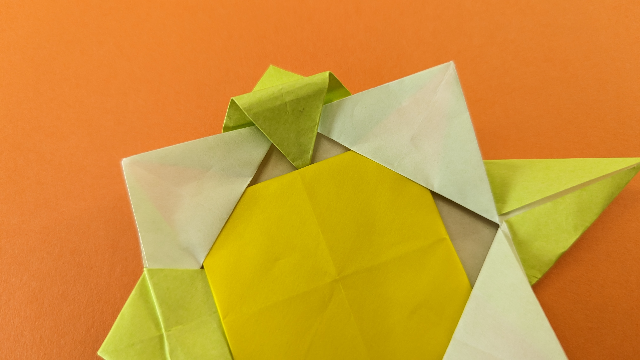
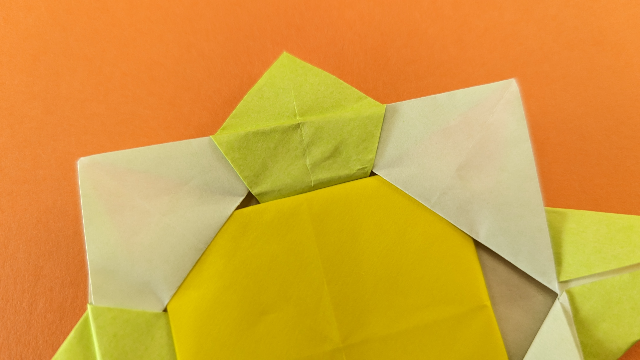
こんな感じで4か所、折り込んでいきます。
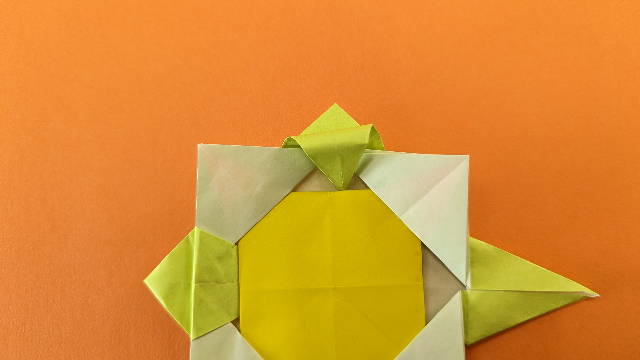
きれいに調整したら完成です。
まとめ
2枚のおりがみを使ったメダルを紹介しました。
真ん中に入れるおりがみにメッセージや秘密のアイテムなんか入れて遊んでも楽しいですね。
ちょっとしたご褒美に作ってみてください。